
Setup
Let's begin by creating a new virtual environment for this project called .venv.
# Windows
$ python -m venv .venv
$ .venv\Scripts\Activate.ps1
(.venv) $

# macOS/Linux
$ python3 -m venv .venv
$ source .venv/bin/activate
(.venv) $
Show dark mode
Then install Django and create a new Django project called django_project.
(.venv) $ python -m pip install django~=6.0
(.venv) $ django-admin startproject django_project .
Show dark mode
The startproject command creates a new folder called django_project containing several files and a manage.py file.
├── django_project
│   ├── __init__.py
│   ├── asgi.py
│   ├── settings.py
│   ├── urls.py
│   └── wsgi.py
└── manage.py
Show dark mode
Run the migrate command to configure the initial database.
(.venv) $ python manage.py migrate
Show dark mode
A new file, db.sqlite3, containing our database, is created. Django supports multiple database backends but defaults to SQLite for local development.
Finally, use runserver to start up the local web server.
(.venv) $ python manage.py runserver
Show dark mode
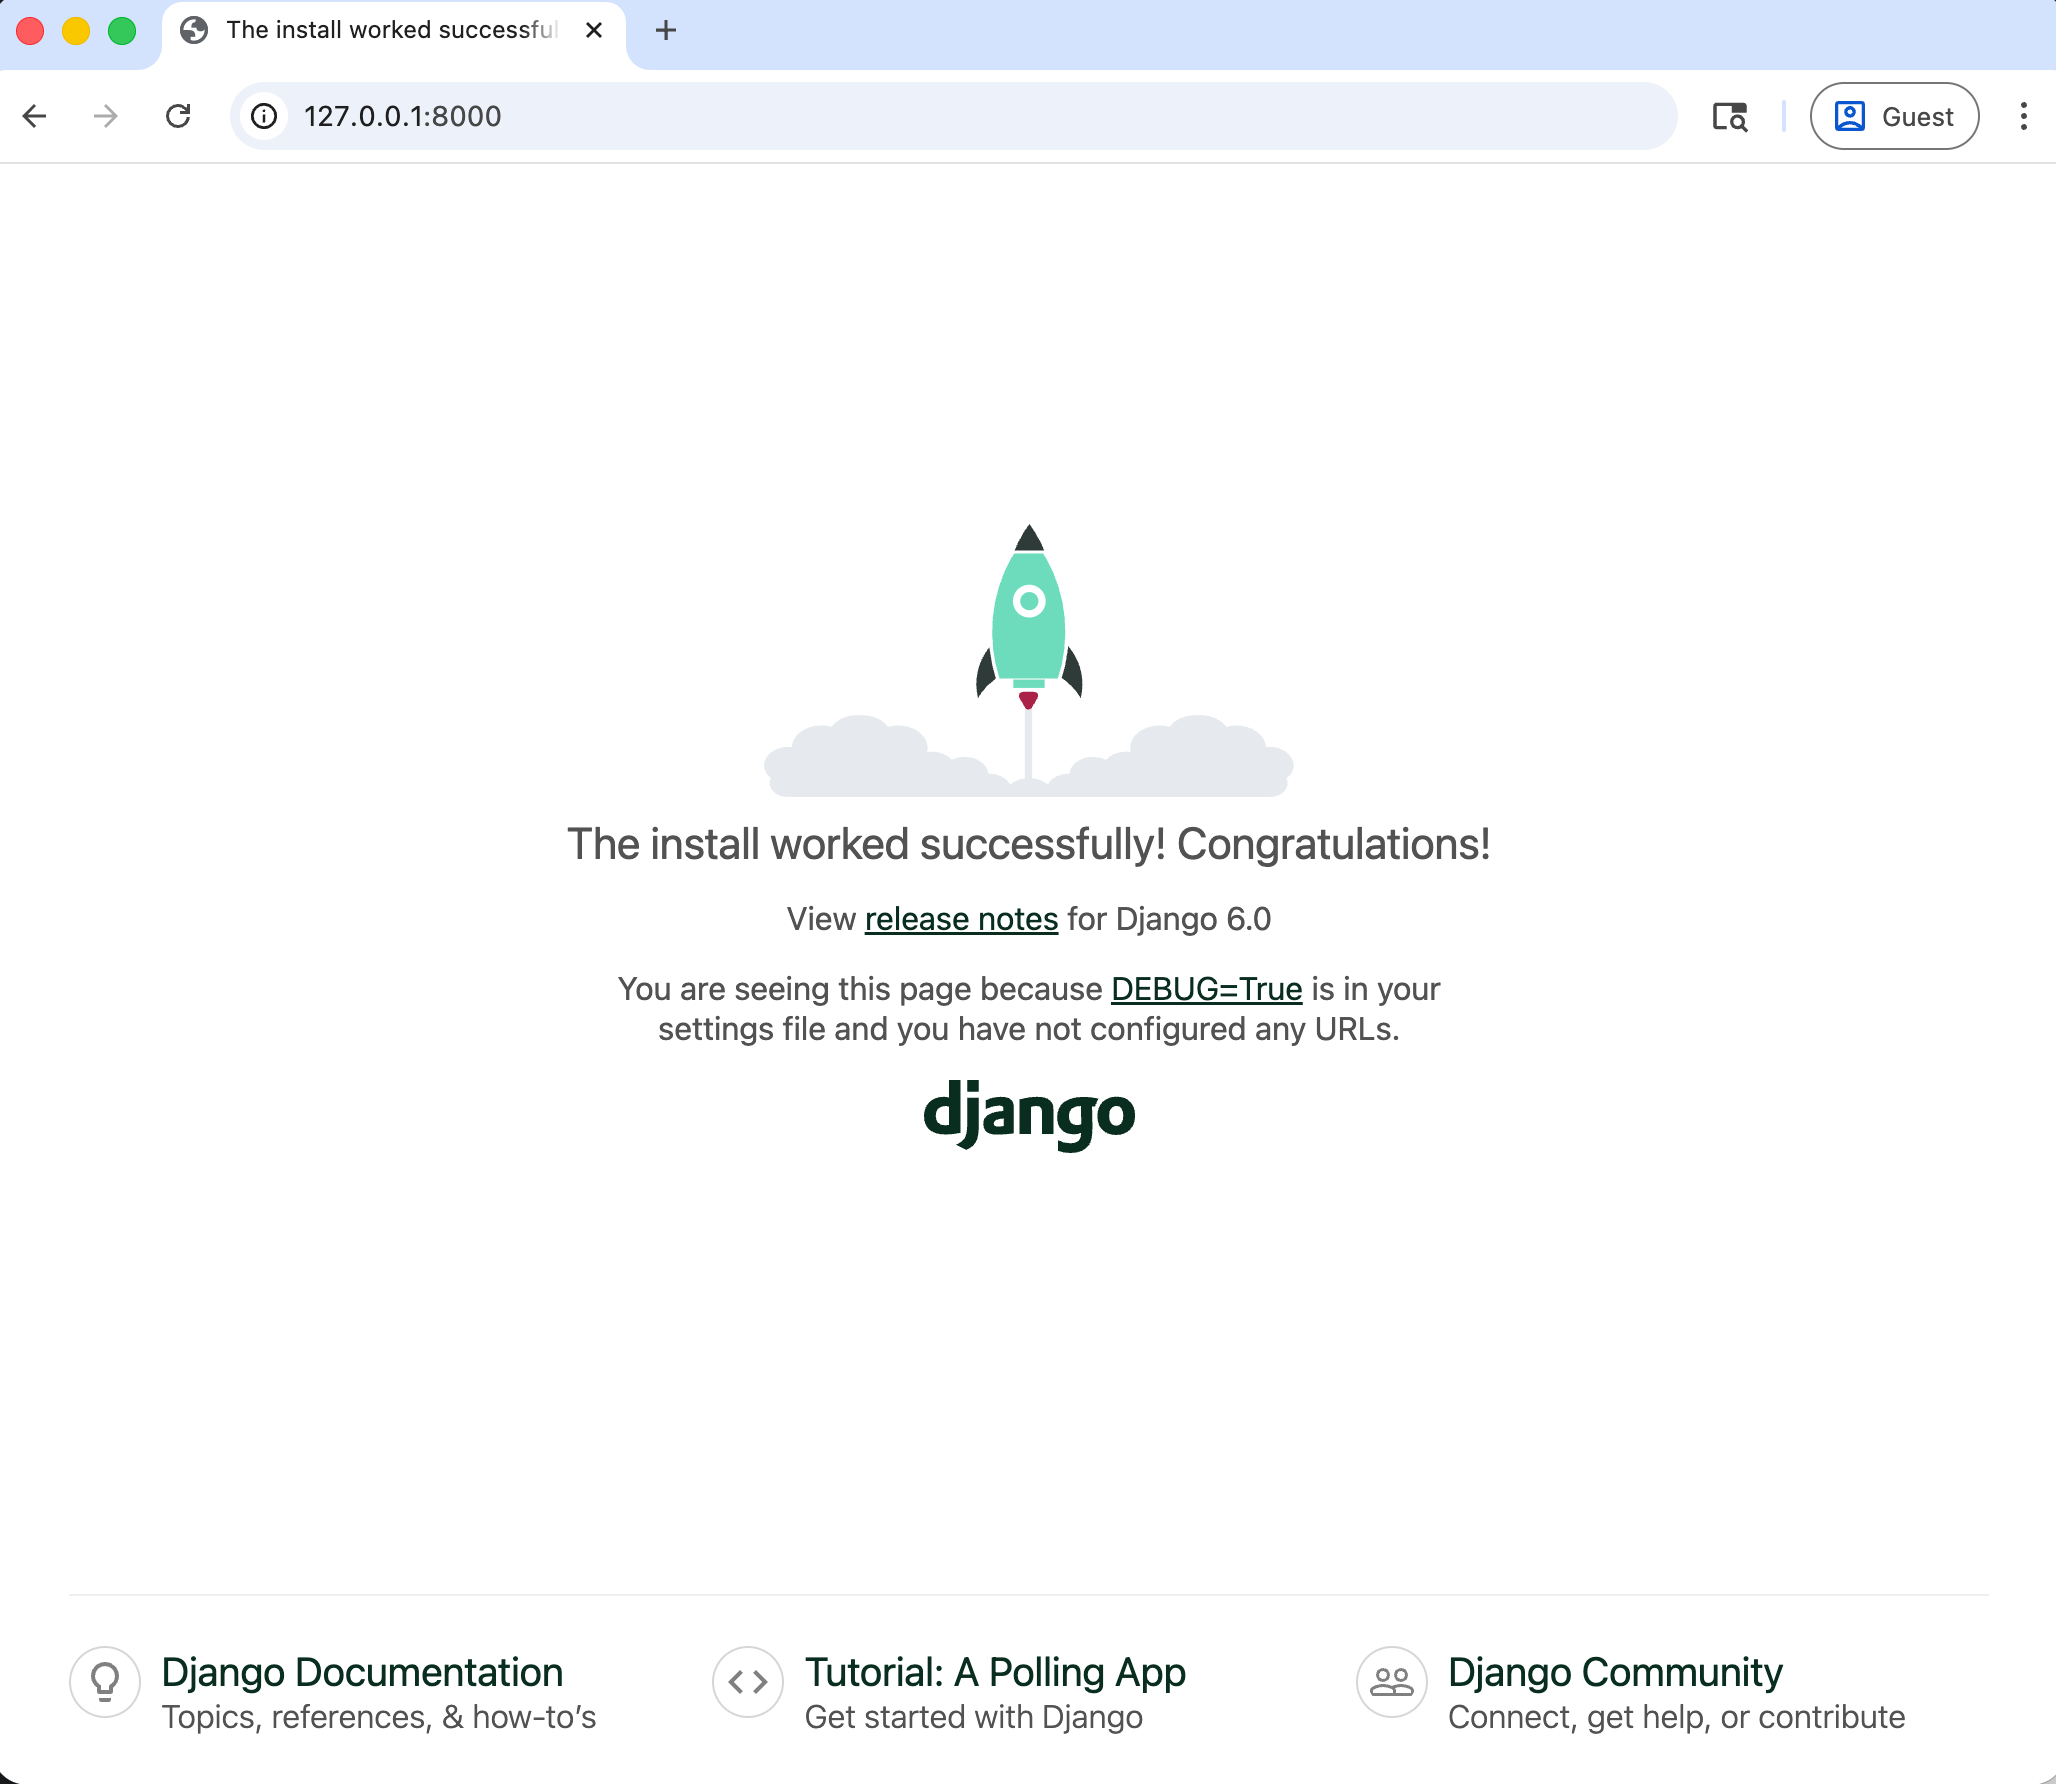
If you open your web browser to 127.0.0.1:8000 you should see the following screen:
Organizationally, a Django website consists of a single project and multiple apps for discrete functionality. Some of these apps are built-in, but you can also add new ones when building new features, such as a blog. Let's create a new app for our blog posts called posts.
(.venv) $ python manage.py startapp posts
Show dark mode
The startapp command creates a new posts folder with several files inside of it:
└── posts
    ├── __init__.py
    ├── admin.py
    ├── apps.py
    ├── migrations
    │   └── __init__.py
    ├── models.py
    ├── tests.py
    └── views.py
Show dark mode
It's not enough to add a new app; for Django to recognize it, the app must be added to the INSTALLED_APPS configuration within our settings.py file.
# django_project/settings.py
INSTALLED_APPS = [
    "django.contrib.admin",
    "django.contrib.auth",
    "django.contrib.contenttypes",
    "django.contrib.sessions",
    "django.contrib.messages",
    "django.contrib.staticfiles",
    "posts",  # new
]
Show dark mode
This posts app will contain our blog's models, views, admin, URLs, and templates.
Models
Models are how Django accesses, manages, and stores data through Python objects. To keep things simple, we will focus on a single model containing a Title, Description, and Content.
Create a new 'Post' model that extends django.db.models.Model and then add three fields for title, description, and content. There are many built-in field types you can use, as well as field options for greater customization.
# posts/models.py
from django.db import models

class Post(models.Model):
    title = models.CharField(max_length=100)
    description = models.CharField(max_length=100)
    content = models.TextField()

    def __str__(self):
        return self.title
Show dark mode
Django has a built-in migrations framework for handling changes to models over time. Every time there is a change to the database schema, you can create a new migrations file and then apply it to the database. This process makes it much easier to revisit or roll back changes at a future date.
Use the makemigrations command to generate a new migrations file.
(.venv) $ python manage.py makemigrations
Migrations for 'posts':
  posts/migrations/0001_initial.py
    - Create model Post
Show dark mode
As the command line output makes clear, this new file is located in posts/migrations/0001_initial.py. Then, run migrate to apply the changes to our database.
(.venv) $ python manage.py migrate
Operations to perform:
  Apply all migrations: admin, auth, contenttypes, posts, sessions
Running migrations:
  Applying posts.0001_initial... OK
Show dark mode
Admin
One of Django's super features is its built-in admin application that provides a visual way to interact with our data. To use it, create a superuser account from the command line.
(.venv) $ python manage.py createsuperuser
Show dark mode
Start the local server again with python manage.py runserver and then head over to the admin in your web browser at http://127.0.0.1:8000/admin.
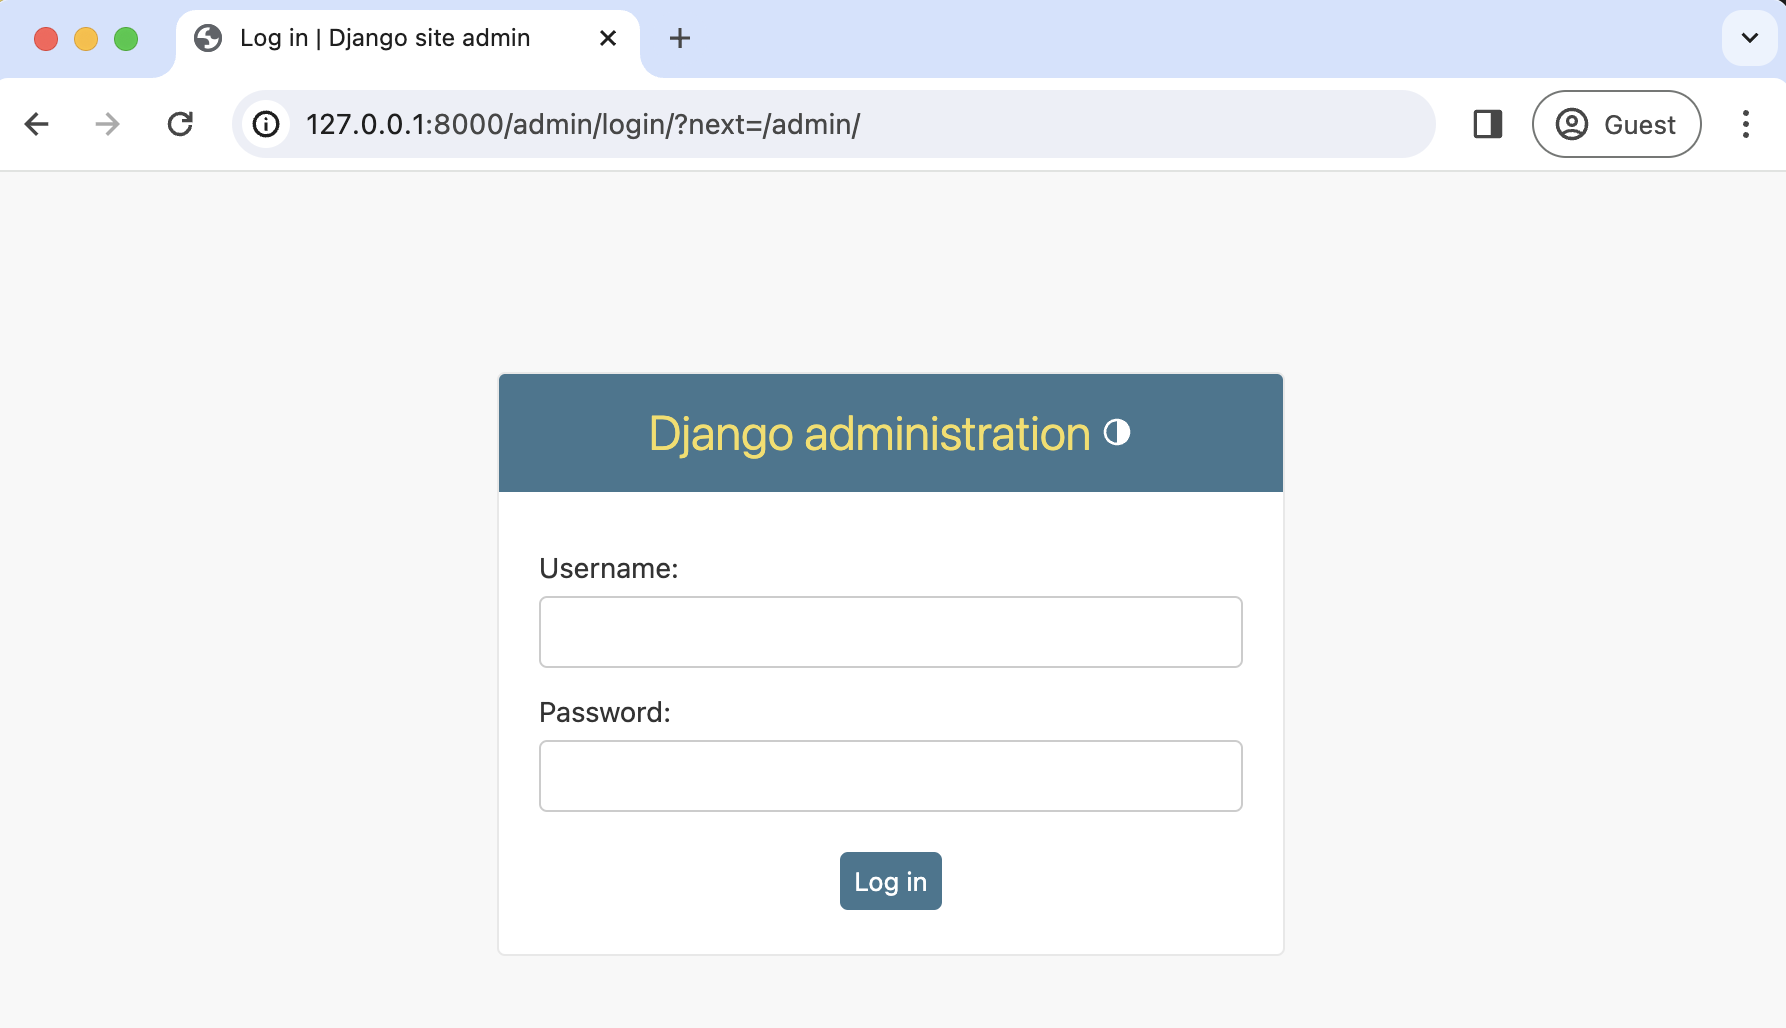
Log in with your superuser credentials and click the "Log in" button. It will redirect you to the admin homepage.